
Although you can upgrade your Windows 7 or 8.1 OS to Windows 10 without help of a bootable USB Flash drive, creating one is a must if you want to do a “clean installation” of Microsoft’s latest OS on an empty hard drive partition. Microsoft has made creation of bootable Windows 10 installation media quite easy. You can do that with Media Creation Tool software in a few steps. With a bootable USB Flash (or DVD) you can install Windows 10 on an empty storage partition of your laptop, tablet, or any other PC which meets Win 10 hardware requirements. You can use them for upgrades of existing Windows 7 and 8.1 installations on your computer, too.
In this easy step-by-step guide, we’ll make a bootable Windows 10 USB stick.
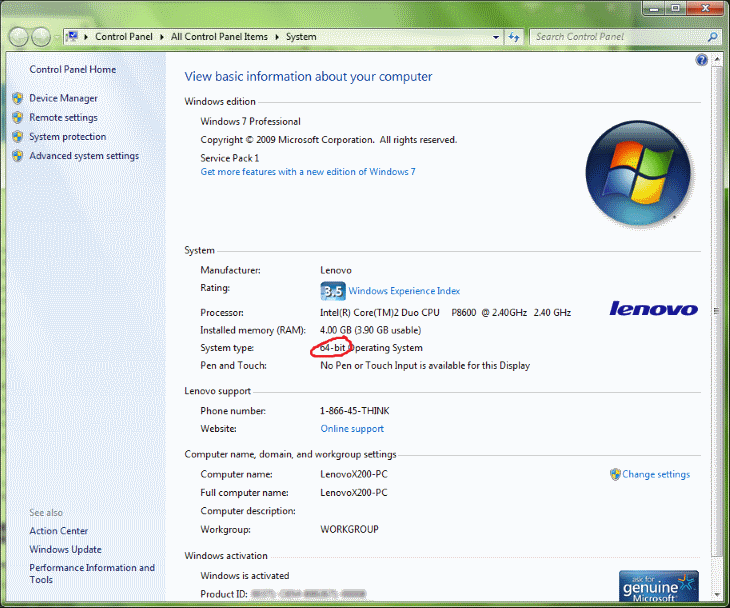
First, you have to download Media Creation Tool. It’s available on Microsoft’s official website. On the bottom of the webpage, there are links for 32-bit and 64-bit Windows PC versions of the Tool. Choose one of them, depending on system architecture (32-bit or 64-bit) of your PC. You can check whether your computer is 32- or 64-bit in System section of Control Panel.
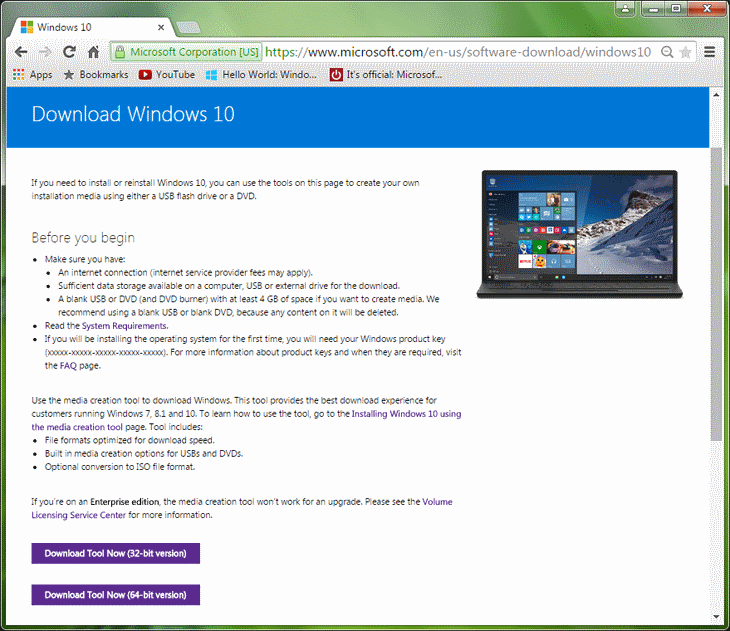
Click on one of the links and the Tool will be downloaded.
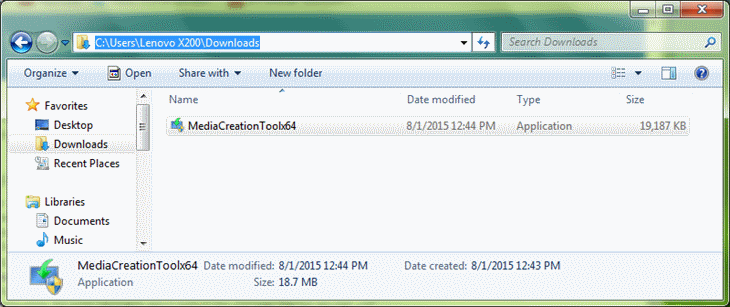
Go to the folder where your copy of Creation Tool is downloaded. Find the file named MediaCreationToolx32.exe (32-bit) or MediaCreationToolx64.exe (64-bit) and run it.
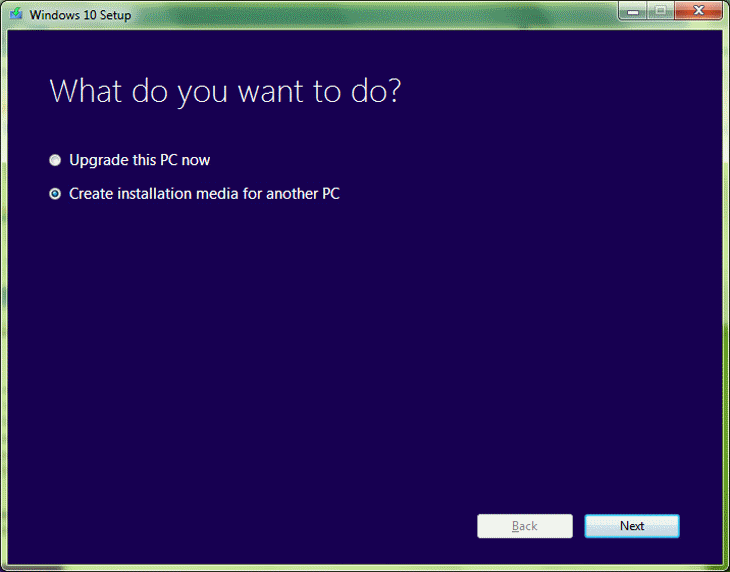
A blue Windows 10 Setup window will appear, aking what do you want to do – “Upgrade this PC now” or “Create installation media for another PC”. Choose the latter option and click the Next button.
Now you can select language, Windows edition, and architecture you want to create an installation drive for.
Selecting the correct Windows 10 edition is crucial. For instance, if you want to use the drive to upgrade your Windows 7 Home OS-based laptop by installing Windows 10 on a separate clean hard drive partition, you have to choose Windows 10 Home from the drop-down menu. This is important due to licencing, since you aren’t eligible for a free upgrade to Windows 10 Pro if your machine is running Windows 7 Home for instance. In fact, you can install the Win 10 Pro version on a PC which runs Win 7 Home, but you’ll have to pay $199 for a 10 Pro product key.
Here’s what Microsoft says about the free-of-charge upgrade paths.
When you upgrade, you’ll stay on like-to-like editions of Windows. For example, Windows 7 Home Premium will upgrade to Windows 10 Home.
Windows 7 Upgrade
From Edition To Edition Windows 7 Starter Windows 10 Home Windows 7 Home Basic Windows 7 Home Premium Windows 7 Professional Windows 10 Pro Windows 7 Ultimate Windows 8
From Edition To Edition Windows Phone 8.1 Windows 10 Mobile Windows 8.1 Windows 10 Home Windows 8.1 Pro Windows 10 Pro Windows 8.1 Pro for Students “N” and “KN” editions follow the upgrade path of the parent edition (e.g., Windows 7 Pro N upgrades to Windows 10 Pro N). Some editions are excluded: Windows 7 Enterprise, Windows 8/8.1 Enterprise, and Windows RT/RT 8.1. Active Software Assurance customers in volume licensing have the benefit to upgrade to Windows 10 enterprise offerings outside of this offer.
Choosing the right architecture is important, too. Although the vast majority of PCs on today’s market have 64-bit processors, some older systems, as well as many affordable tablets with Intel’s Atom CPUs, are 32-bit. While you can install a 32-bit OS on a computer with a 64-bit CPU, running a 64-bit OS on a 32-bit machine isn’t possible. To avoid any problems during OS installation, it’s recommended to match architectures of software and hardware. To make sure on what processor architecture your laptop, tablet, or other PC is based on, find the CPU’s architecture in the System section of Windows’ Control Panel, as shown on the first image in this post.
Alternatively, you can make a bootable drive for both 32-bit and 64-bit architectures by selecting “Both” on the Architecture drop-down menu. However, this will make the creation process longer, since both versions will be downloaded and written to the created media. You’ll also need a larger Flash drive with at least 6GB capacity instead of 3GB.
When you’re done choosing the language, edition, and architecture, click Next.

On the “Choose which media to use” screen, you can select USB Flash drive or ISO file. The latter option can be handy if you want to create another Windows 10 bootable installation media later. ISO file will be downloaded to your PC and will stay there. Selecting USB Flash drive option will download OS and create a bootable installation USB Flash once. You won’t be able to create it again without downloading Windows 10 again. Since our choice is to make creation simpler, we’ll simply click on USB Flash drive and Next button.

Now you can select a connected Flash drive you want to turn into bootable Win 10 media. The Tool will erase any existing data on it, so if you have important files on it, make sure you backed them up first.

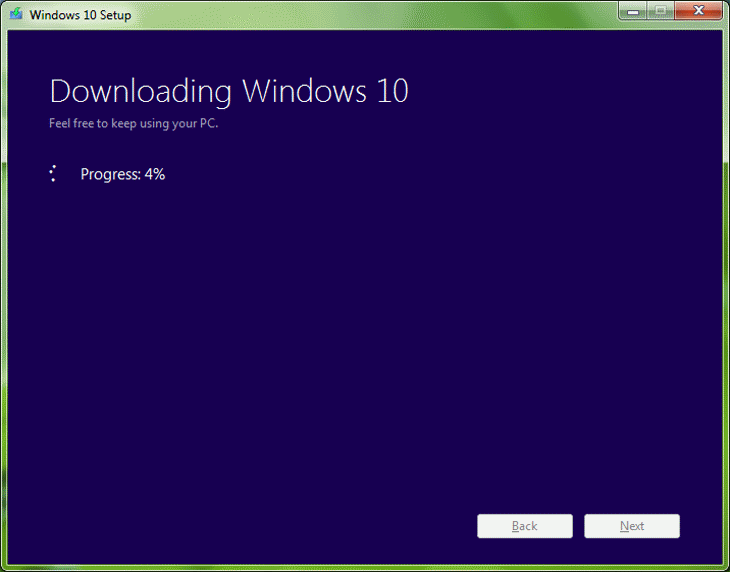
Click Next and Windows 10 download will start. After that, it will automatically proceed to creation of Windows 10 media.

Once the process is over, you’ll be notified with “Your USB Flash drive is ready” message. Click Finish button and that’s it. Now you have a bootable Windows 10 USB Flash drive, ready for clean OS installations and upgrades from Windows 7 and 8.1.

Once the process is over, you’ll be notified with “Your USB Flash drive is ready” message. Click Finish button and that’s it. Now you have a bootable Windows 10 USB Flash drive, ready for clean OS installations and upgrades from Windows 7 and 8.1.
SO HOW NOW?
MY LAPTOP IS WIN 8.1.
I INSERTED THE THE FLASH DRIVE INTO THE LAPTOP, CLICKED ON THE SETUP FILE BUT NOTHING HAPPENED…….
Normally, after you double-click Setup.exe, a User Account Control window should appear, with option to click Yes. After you click Yes, setup should start. I don’t know what caused your problem, but if you didn’t get the UAC window, try right-clicking on Setup.exe and click Run as Administrator on the menu. That might help.