
The simplest way to install Windows 10 OS on your laptop, tablet, or other PC is to upgrade your existing Windows 7 or 8.1 using an upgrade process via Windows Update service. However, if you want to install Windows 10 on an empty partition of your hard drive or solid state drive, you’ll have to perform a “clean” install using bootable USB Flash drive or DVD media. A clean install is a must if you’re running any operating system such as Windows XP or Vista or you have a laptop with no OS. In that case, you’ll have to pay for Windows 10 activation, whereas for owners of Windows 7 and 8.1 machines activation is free of charge.
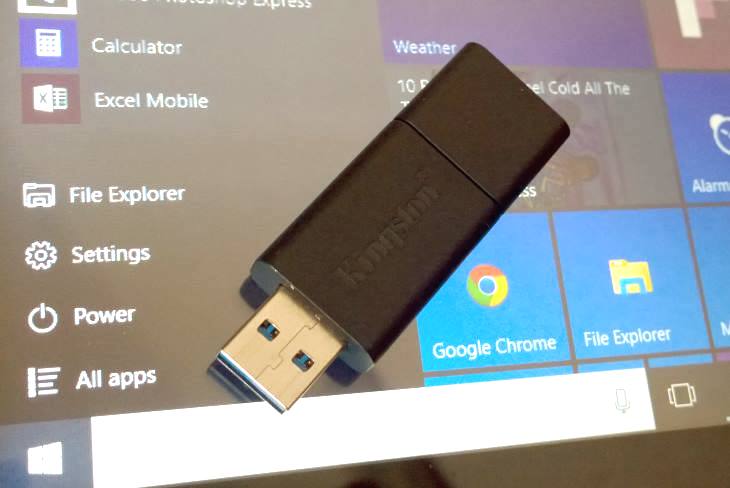
In this post, we’ll describe how to perform a clean Windows 10 installation using a bootable USB Flash drive. The same guide applies to installation via a bootable DVD. Once you have a Flash drive with Windows 10 setup on it, you have to boot your computer with it.
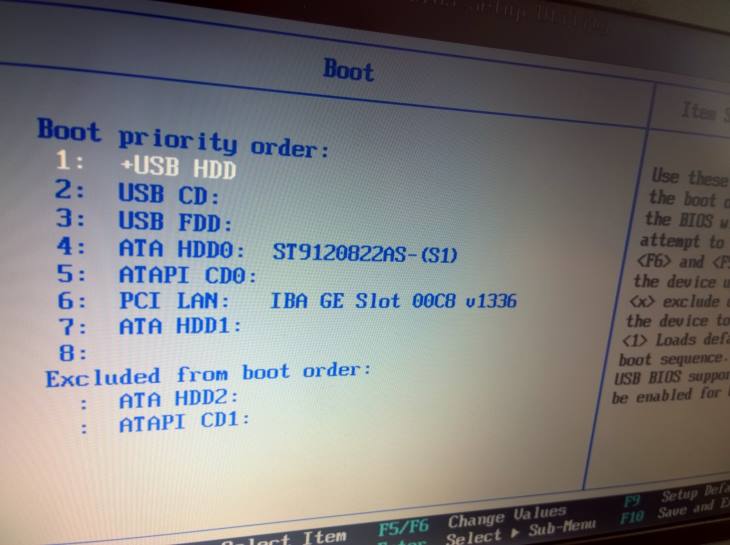
Before hitting the power button to turn on your PC, make sure the Flash drive is inserted in one of USB ports and that booting via USB is enabled in BIOS settings of your machine. Entering BIOS and changing its settings differs depending on a PC model, but it is similar on all computers. For instance, on our old Lenovo ThinkPad X200 laptop we used for this how-to guide, you enter BIOS by holding the F1 keyboard key right after power on. On HP laptops for instance, you enter BIOS by pressing the F9 key. In BIOS settings of the ThinkPad there’s a Startup section with option to set boot priority order. Your USB Flash should be the first device on the priority list.
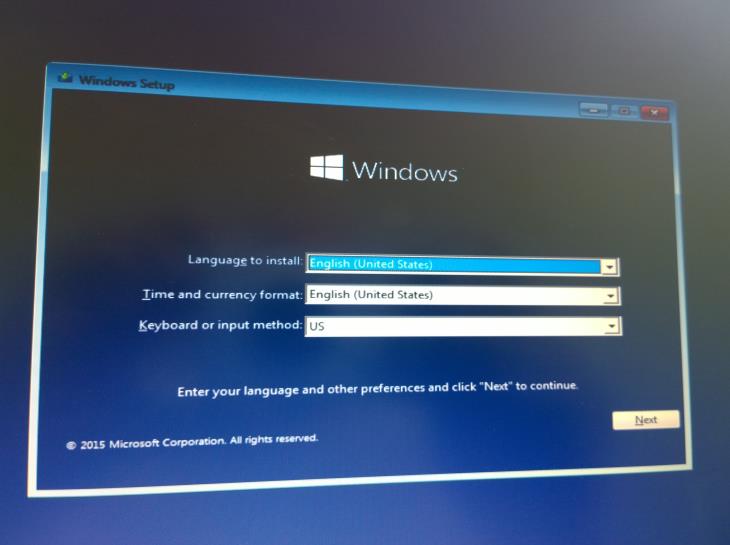
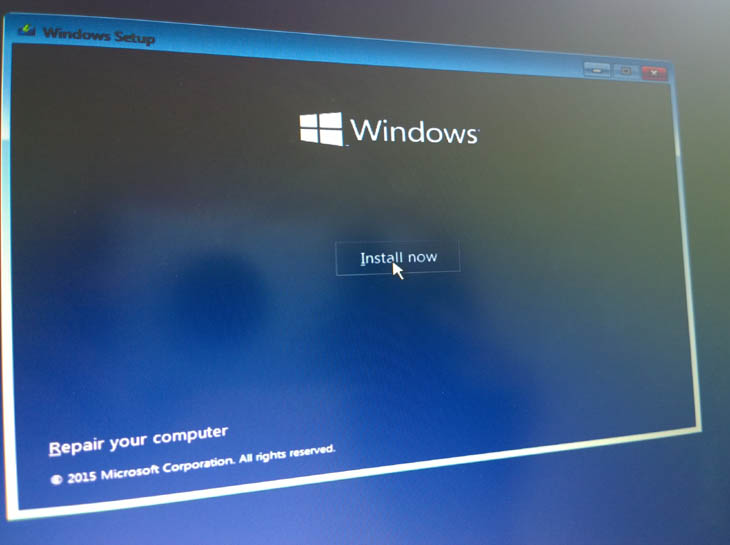
After you boot-up the PC via Flash drive, you’ll enter Windows 10 setup. First, you can choose your language and other preferences. After you’re done click the “Next” button in lower right corner and after that “Install now” button.
Now, you’ll be presented with a field to enter your product key to activate Windows. If you’re installing Windows 10 on a PC which has a legal copy of Windows 7 or 8.1 installed, you can skip this step by clicking the “Skip” link. If you don’t have Windows 7 or 8.1, in the field you have to enter your Windows 10 key, which you bought. You can obtain one via Microsoft Store or other places. Since our ThinkPad X200 laptop had Windows 7 Professional, we skipped the product key screen. As a side note, the product / activation key of your existing Windows 7 or 8.1 can’t be entered in the field and won’t activate Windows 10. Instead, just skip this step. After we had successfully installed Windows 10, the new OS automatically recognized it is installed on an eligible Windows 7 PC and activated itself. You’ll see that on the end of this tutorial.

On the next screen, you have to check the “I accept the license terms” checkbox. Click “Next.

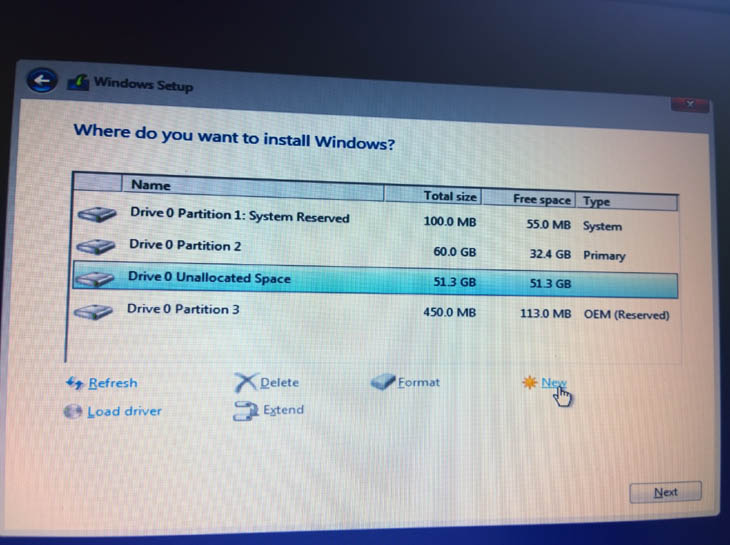
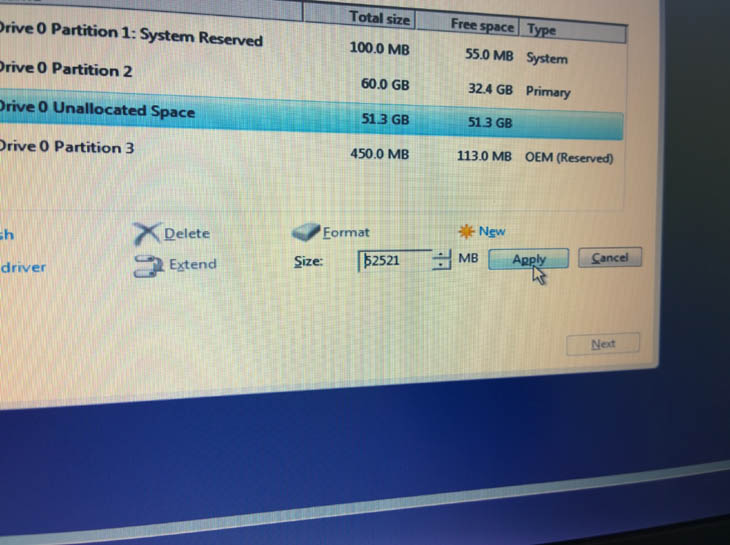
The following step is to choose where you want to put Windows 10. In this case, we created a new hard drive partition on unallocated space and directed the setup to put Windows 10 on it. Windows 7 was preserved on its current partition.
The setup will start installing Windows 10 on the chosen partition. This step will take a while. Its length depends on speed of your computer. Once the step is completed, the computer will restart automatically.

To continue the installation after the restart, your USB Flash drive will have to be disconnected from the PC. Otherwise, the system will run the setup process from the drive from the beginning. If you haven’t managed to pull the drive out before booting from it started, just pull it out and restart the computer. After the restart and boot from the built-in hard drive, we were presented with a boot menu. Click on the Windows 10 item to continue.

The setup asked us again for the product key and we skipped the step again by clicking the “Do this later” link.

On the “Let’s get connected” step, you can setup a Wi-Fi connection or leave it for later by clicking “Skip this step” link. We decided to connect to our Wi-Fi network and entered its security key.


After that, the setup gives you a “Get going fast” screen with a choice to personalize your Windows 10, such as setting up input, location, and Internet security preferences. Since the same settings can be accessed later once Windows 10 is up and running, we used “Express settings” option.

The setup proceeded further by getting critical updates via Wi-Fi. This took a couple of minutes.

Then, due to an unknown reason, we were asked for the product key for the 3rd time. We again skipped the step by clicking on “Do it later”. The previous “Get going fast” screen appeared again and we used “Express settings” again.


“Who owns this PC”? If you aren’t a business / education customer (and most people installing Windows 10 from a USB drive aren’t), choose the “I own it” option and click “Next”.

The following step allows you to either log-in with your existing Microsoft Account email and password, create a new Microsoft Account, or skip the step. We advise you to get an account if you don’t already have one, since it enables access to Windows store and many other important features of Windows 10. These are not possible if you use a local account, which can be created after you click the skip link on the “Make it yours” step.

The setup will let you know about the new personal assistant feature called Cortana. You can just click “Next” here.

Also, you can set a PIN and use it instead of a password under Windows 10, but we didn’t want to make the Windows 10 installation longer, so we skipped the step.

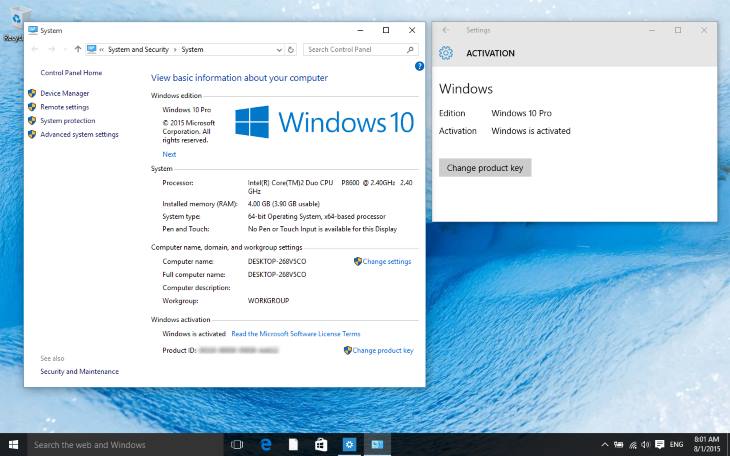
Finally, the log-in screen appeared and we logged into Windows 10 using a personal Microsoft Account email and password. Windows 10 was automatically activated and ready to go right away, with no action required on our end.

Your style is very unique in comparison to other people I’ve read stuff from.
I appreciate you for posting when you’ve got the opportunity,
Guess I’ll just book mark this blog.
Absolutely composed content, regards for entropy.
This is legit. Thanks for the post. Helped me hell of a lot!